Sidebar
Windows Movie Maker Video Speed Up Tutorial
Using this PC tutorial, you can learn how to create a nice faster-than-real-time playback effect for any of your ParaShoot HD videos using the free software program Windows Movie Maker.
Note: Click on any of the screen captures in this tutorial to see the image at full resolution.
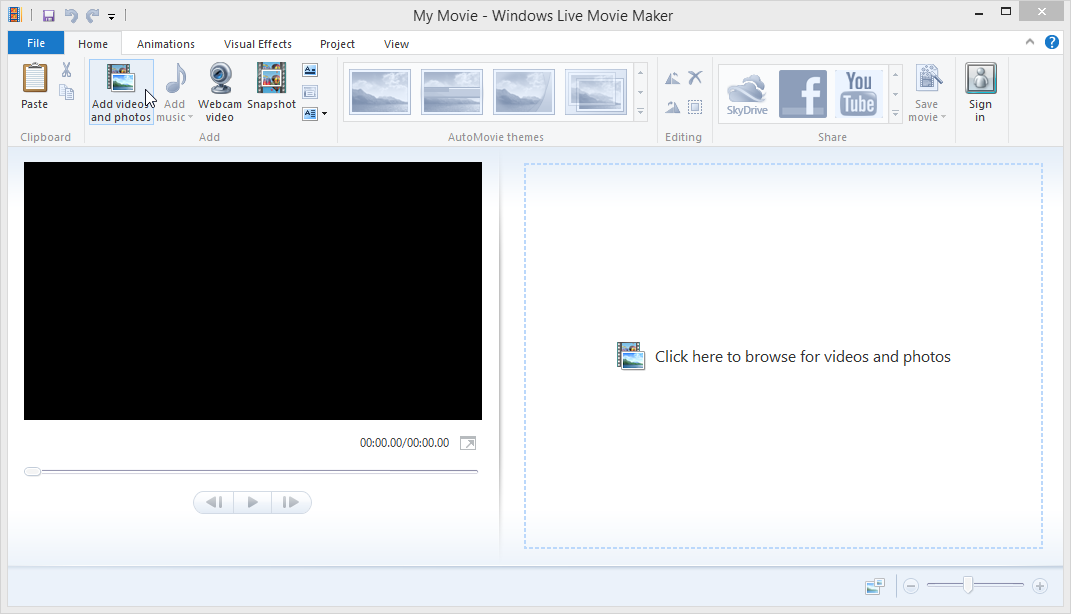
1. Start Up Windows Movie Maker.

2. Click on the Add Video and Photos button
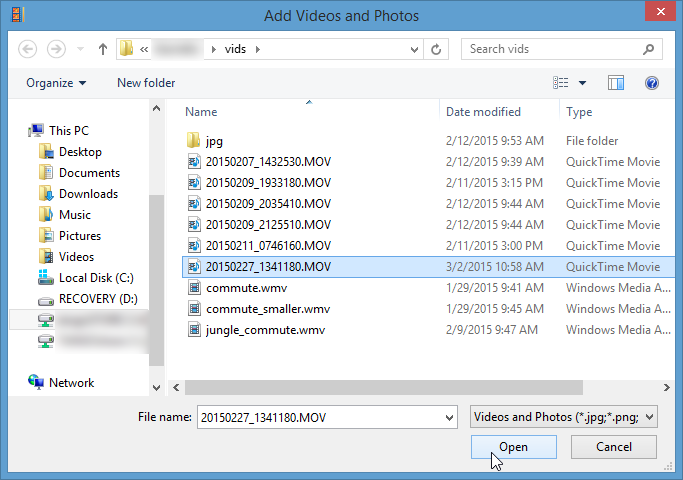
3. In the Add Videos and Photos dialog box, select the video file that you want to add to your project and click on the Open button.
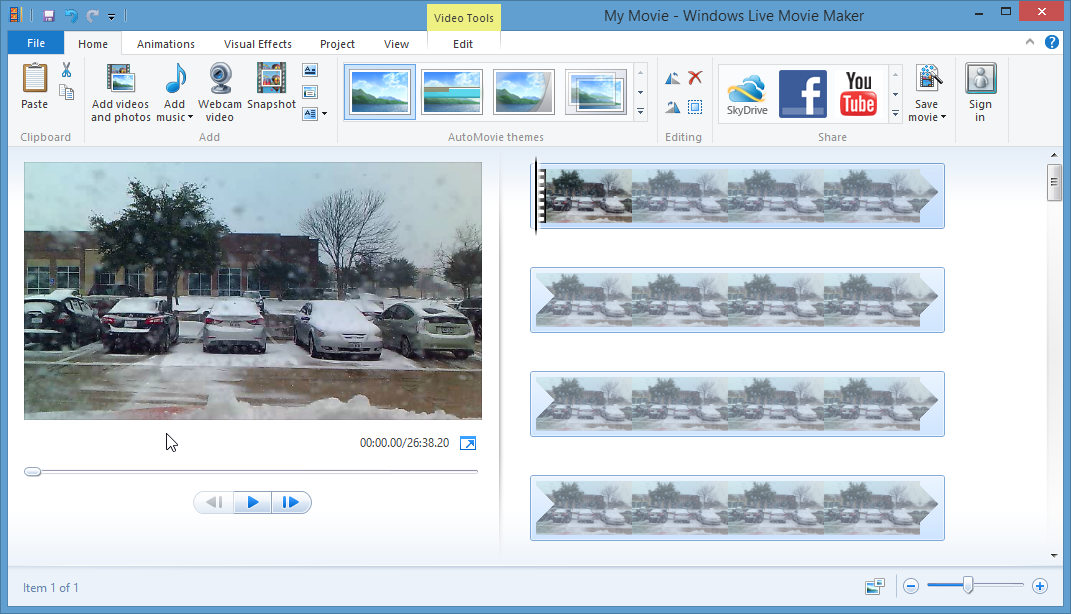
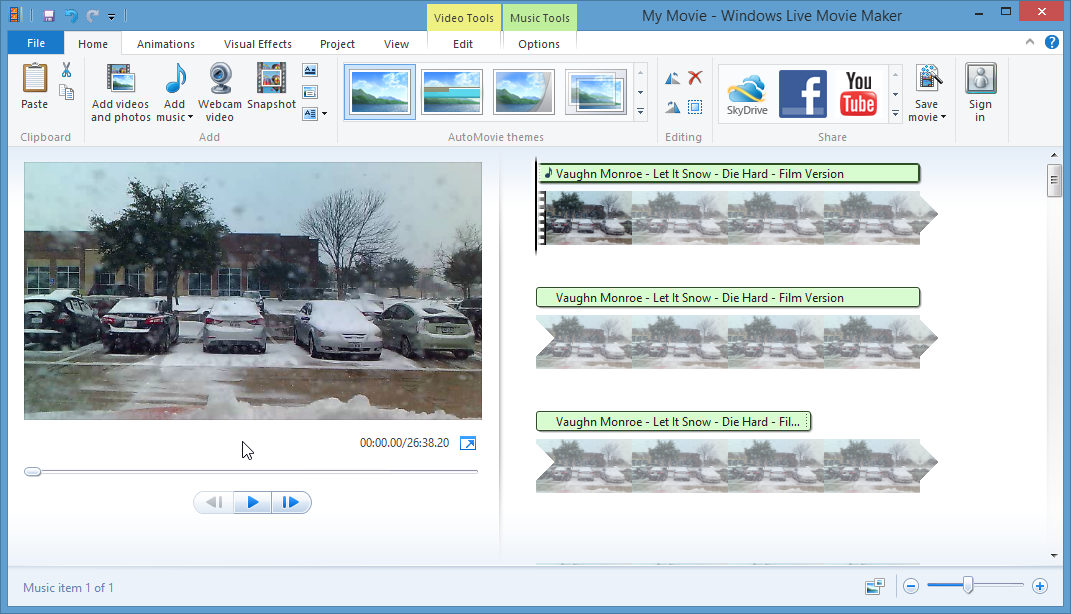
4. Your video file will load into main GUI and you should see a film strip representation on the right and a preview frame on the left. It may take a few minutes to convert the file into a format that Windows Movie Maker can use for editing. You have to let it process the entire video before you can edit it, if you cancel this operation, you won't be able to add the video to your project.
5. After your video has been added successfully, it's time to add a soundtrack to your video. Since we're going to be altering the speed of playback, the original captured audio isn't going to work for you. In this tutorial we will be adding an MP3 file to replace the original captured audio. Click on the Add Music button on the menu ribbon.

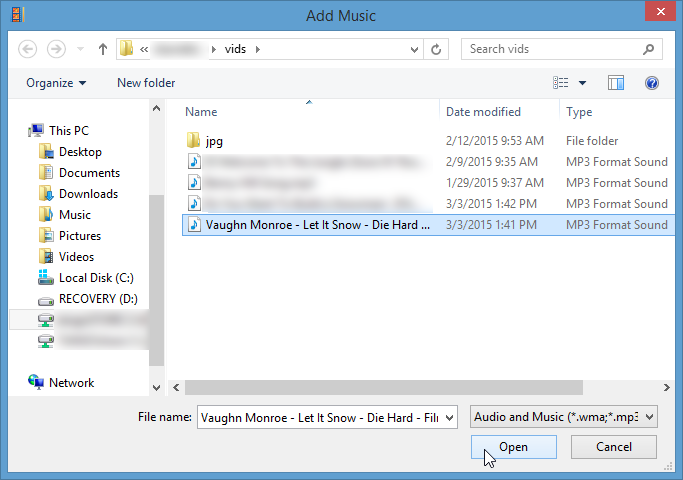
6. In the Add Music dialog box, select an audio file you would like to add to your project, and click the Open button.
7. Once the music file has been loaded successfully, you'll see the Windows Movie Maker adds it to your film strip representation on the right side of the GUI. In this case you can see the audio file ends before the video stream ends. This won't be a problem as we're going to shorten the video duration in a moment.
8. Now click the Video Tools tab at the top of the window to display the video editing tools menu ribbon.
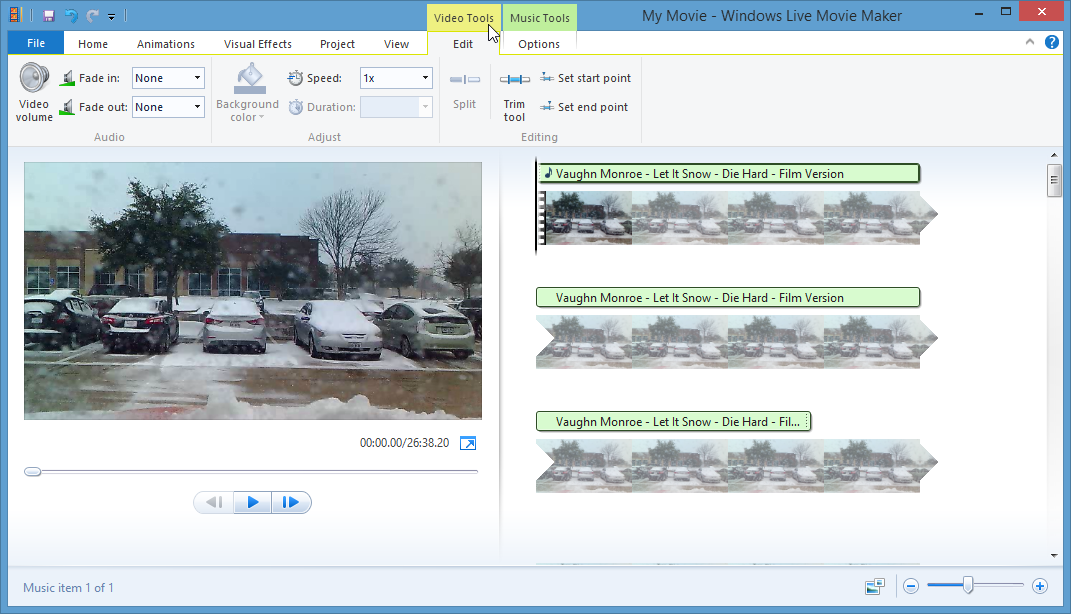
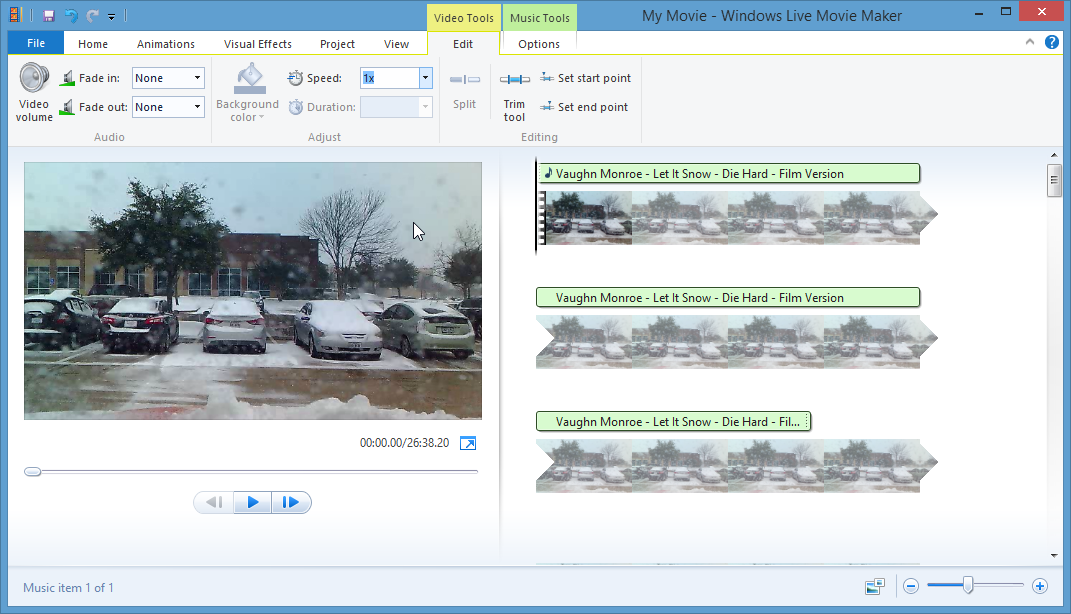
9. To change the playback speed of your video, select a from the Speed pull-down menu.
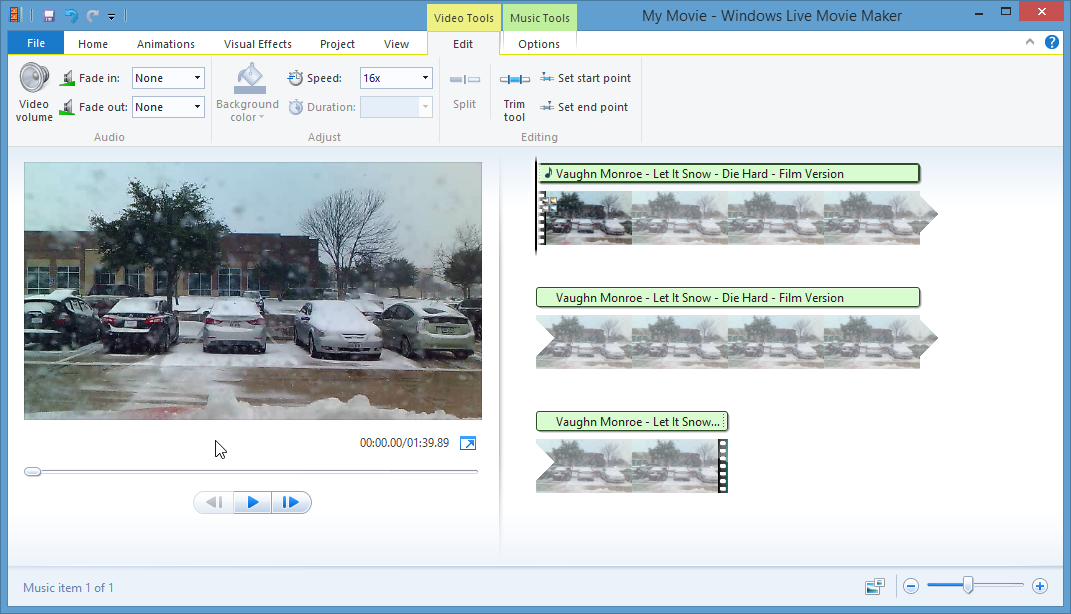
10. In this tutorial, we are selecting 16x playback speed. This will speed up our video. As you can see the video duration goes from 26min:38.20sec down to 1min:39.89sec in duration. You'll also notice that the music track is now cut off from its full duration because the video stream is much shorter.
11. Now click the Music Tools tab at the top of the window to display the audio editing tools menu ribbon.
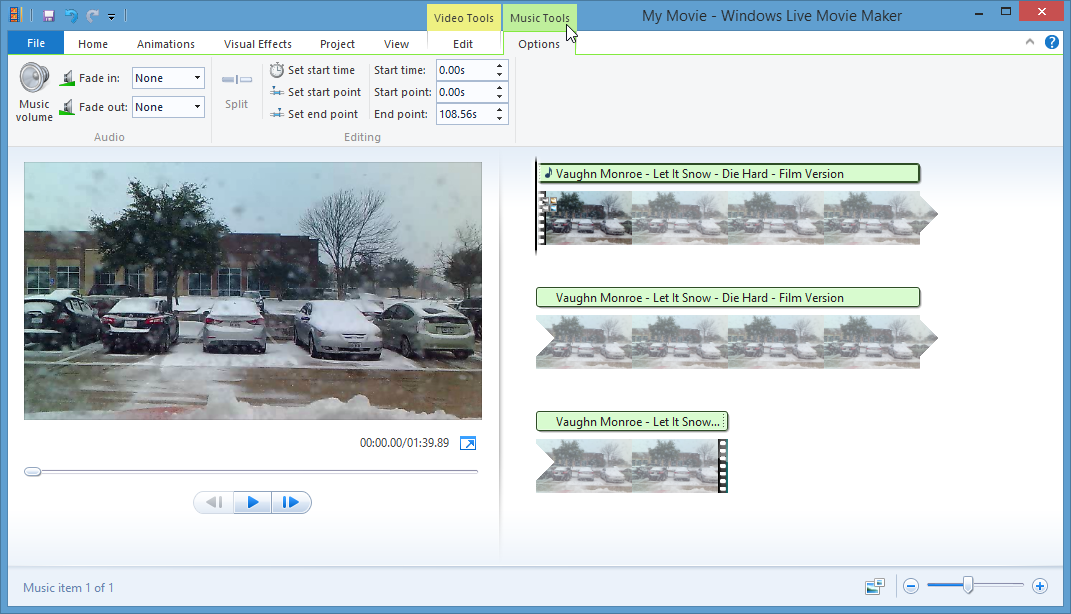
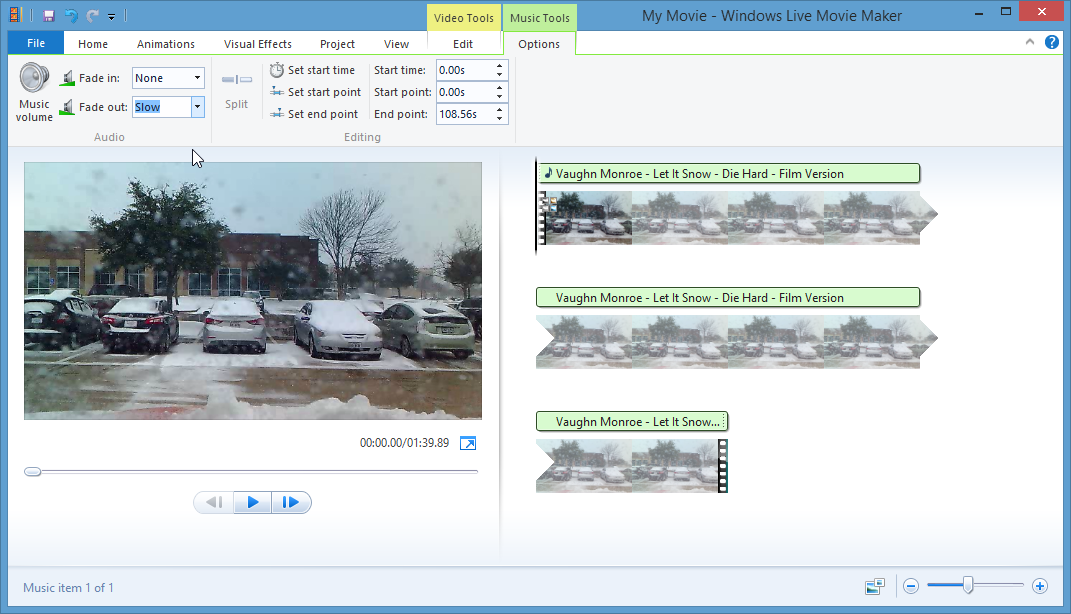
12. To fix the abrupt ending of the music, it's nice to configure a fade out transition to the end of the audio track. Select a Fade Out type you'd like. In this tutorial we selected a Slow fade out.
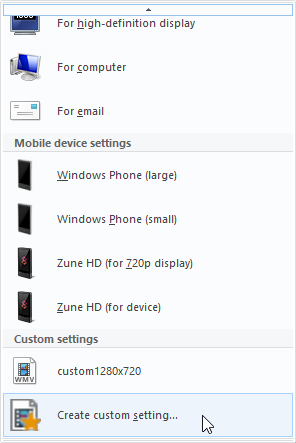
13. Now it's time to save your movie. Select File | Save Movie | Create custom setting….
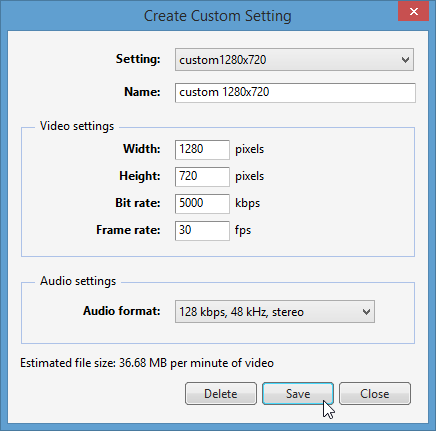
14. In the Create Custom Setting dialog box, you can select video and audio settings that will control the quality and size of your video. For this tutorial we're keeping the same size video (1280×720@30fps), but we're lowering the bitrate down to 5Mbps. This will shrink the original ParaShoot video file from 1.6GB down to 64MB, which is much easier to share (or view on mobile devices). Feel free to pick whatever bitrate you like for the quality you want to achieve. Click the Save button to save your configuration.
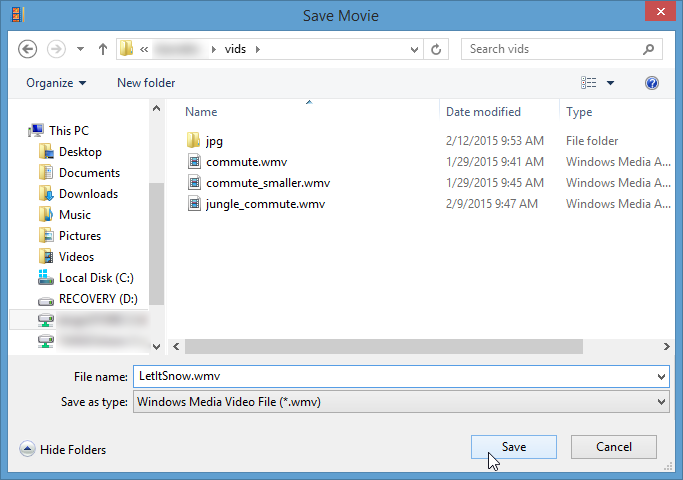
15. After saving your configuration you will get a Save Movie dialog box. Give you movie a name (something a little more descriptive than the YYYYMMDD_HHMMSSS default naming scheme of your original ParaShoot video, and click the Save button.
16. Depending on how long your movie is, and what bitrate you selected, saving your movie might be fast or take some time.
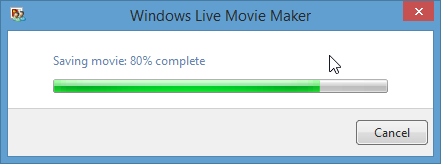
17. A new window will pop up once Movie Maker is done creating and saving your movie. You can now play it back on your computer or upload the file to hosting service (like YouTube).

The video created by this tutorial is available for playback on YouTube: LetItSnow
